Give these mosquito-eating creatures a place to roost in time for trick-or-treat season, and reap the benefits year-round. With instructions for parents and kids.
by Chrystle Fiedler Updated 08/13/20243 out of 5 Moderate There are few parts, and they fit together easily, but cutting the bat shape might be a challenge
Age Range: 7 and up
Bats are remarkable nocturnal insectivores, capable of consuming hundreds of mosquitoes and other pests in a single hour. By constructing a bat house, you create an inviting habitat for these flying mammals while keeping them out of your attic. In the above demonstration, This Old House host Kevin O’Connor shows how to build a simple yet effective bat house with materials readily available at your local home center.
Inviting bats to your property offers several advantages:
Before starting your bat house project, gather the following materials and tools:
Templates for Building a Bat House
Download templates for this project
The location of your bat house matters to make it enticing to bats. Consider the following factors:
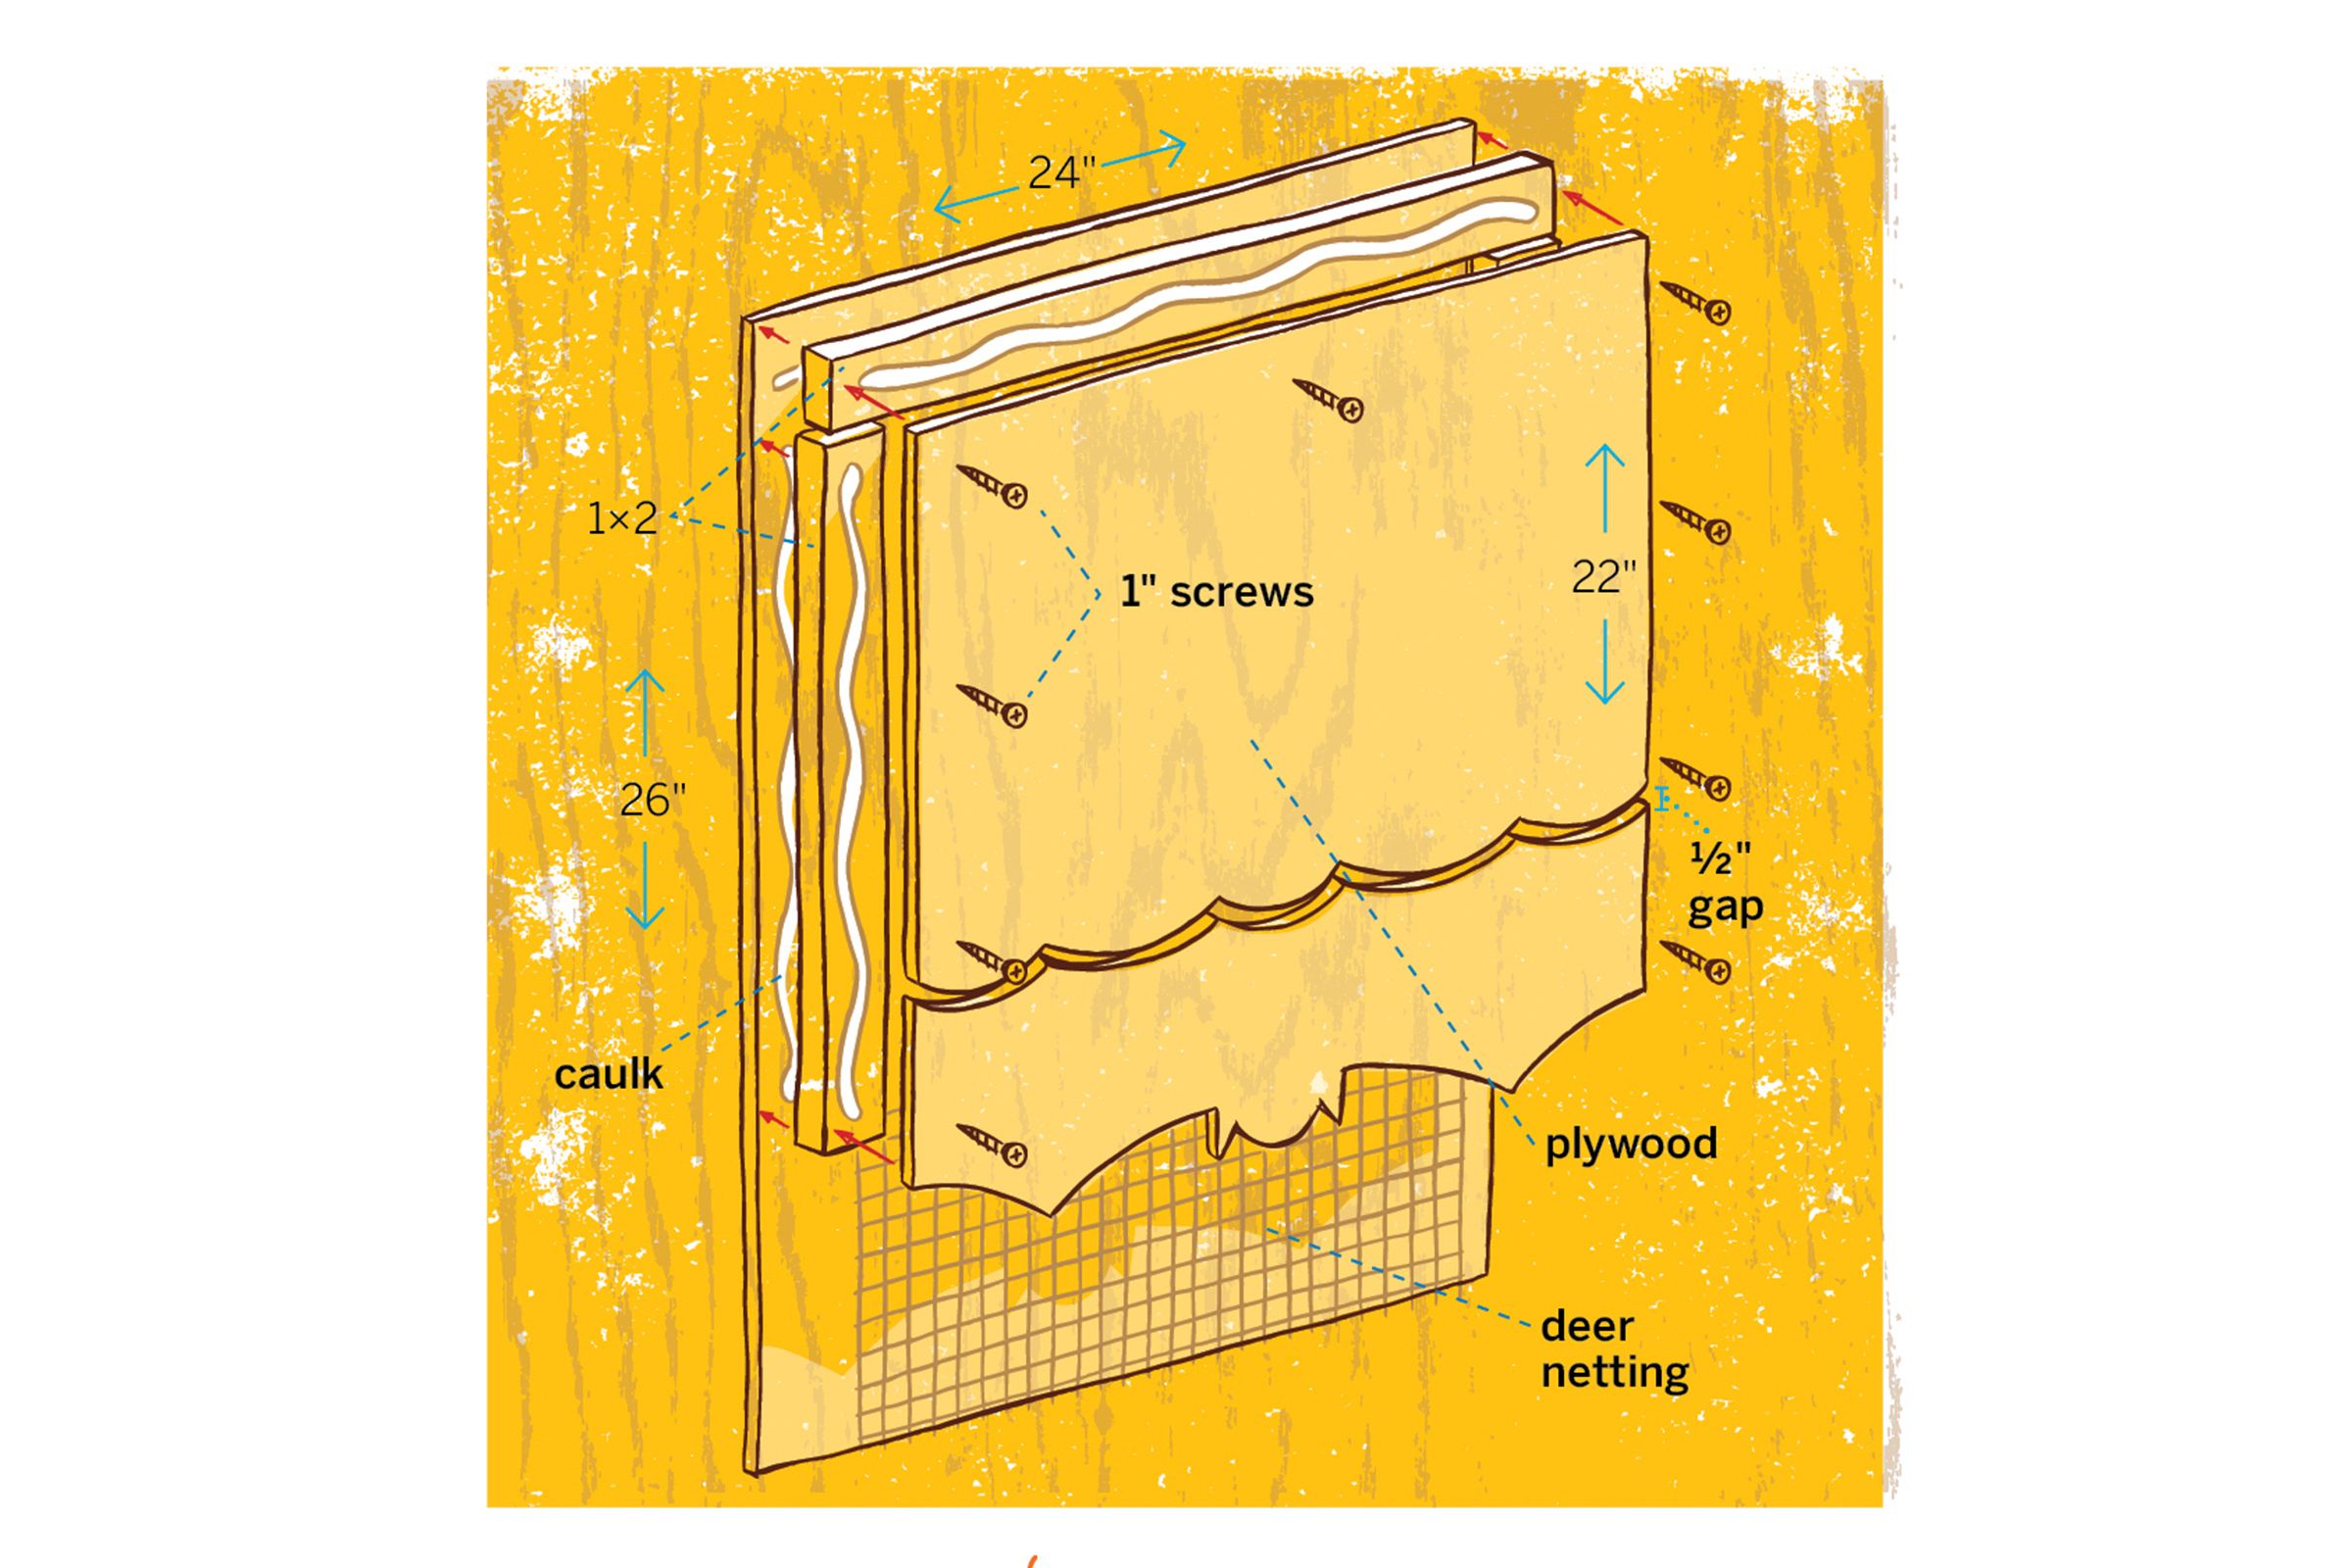
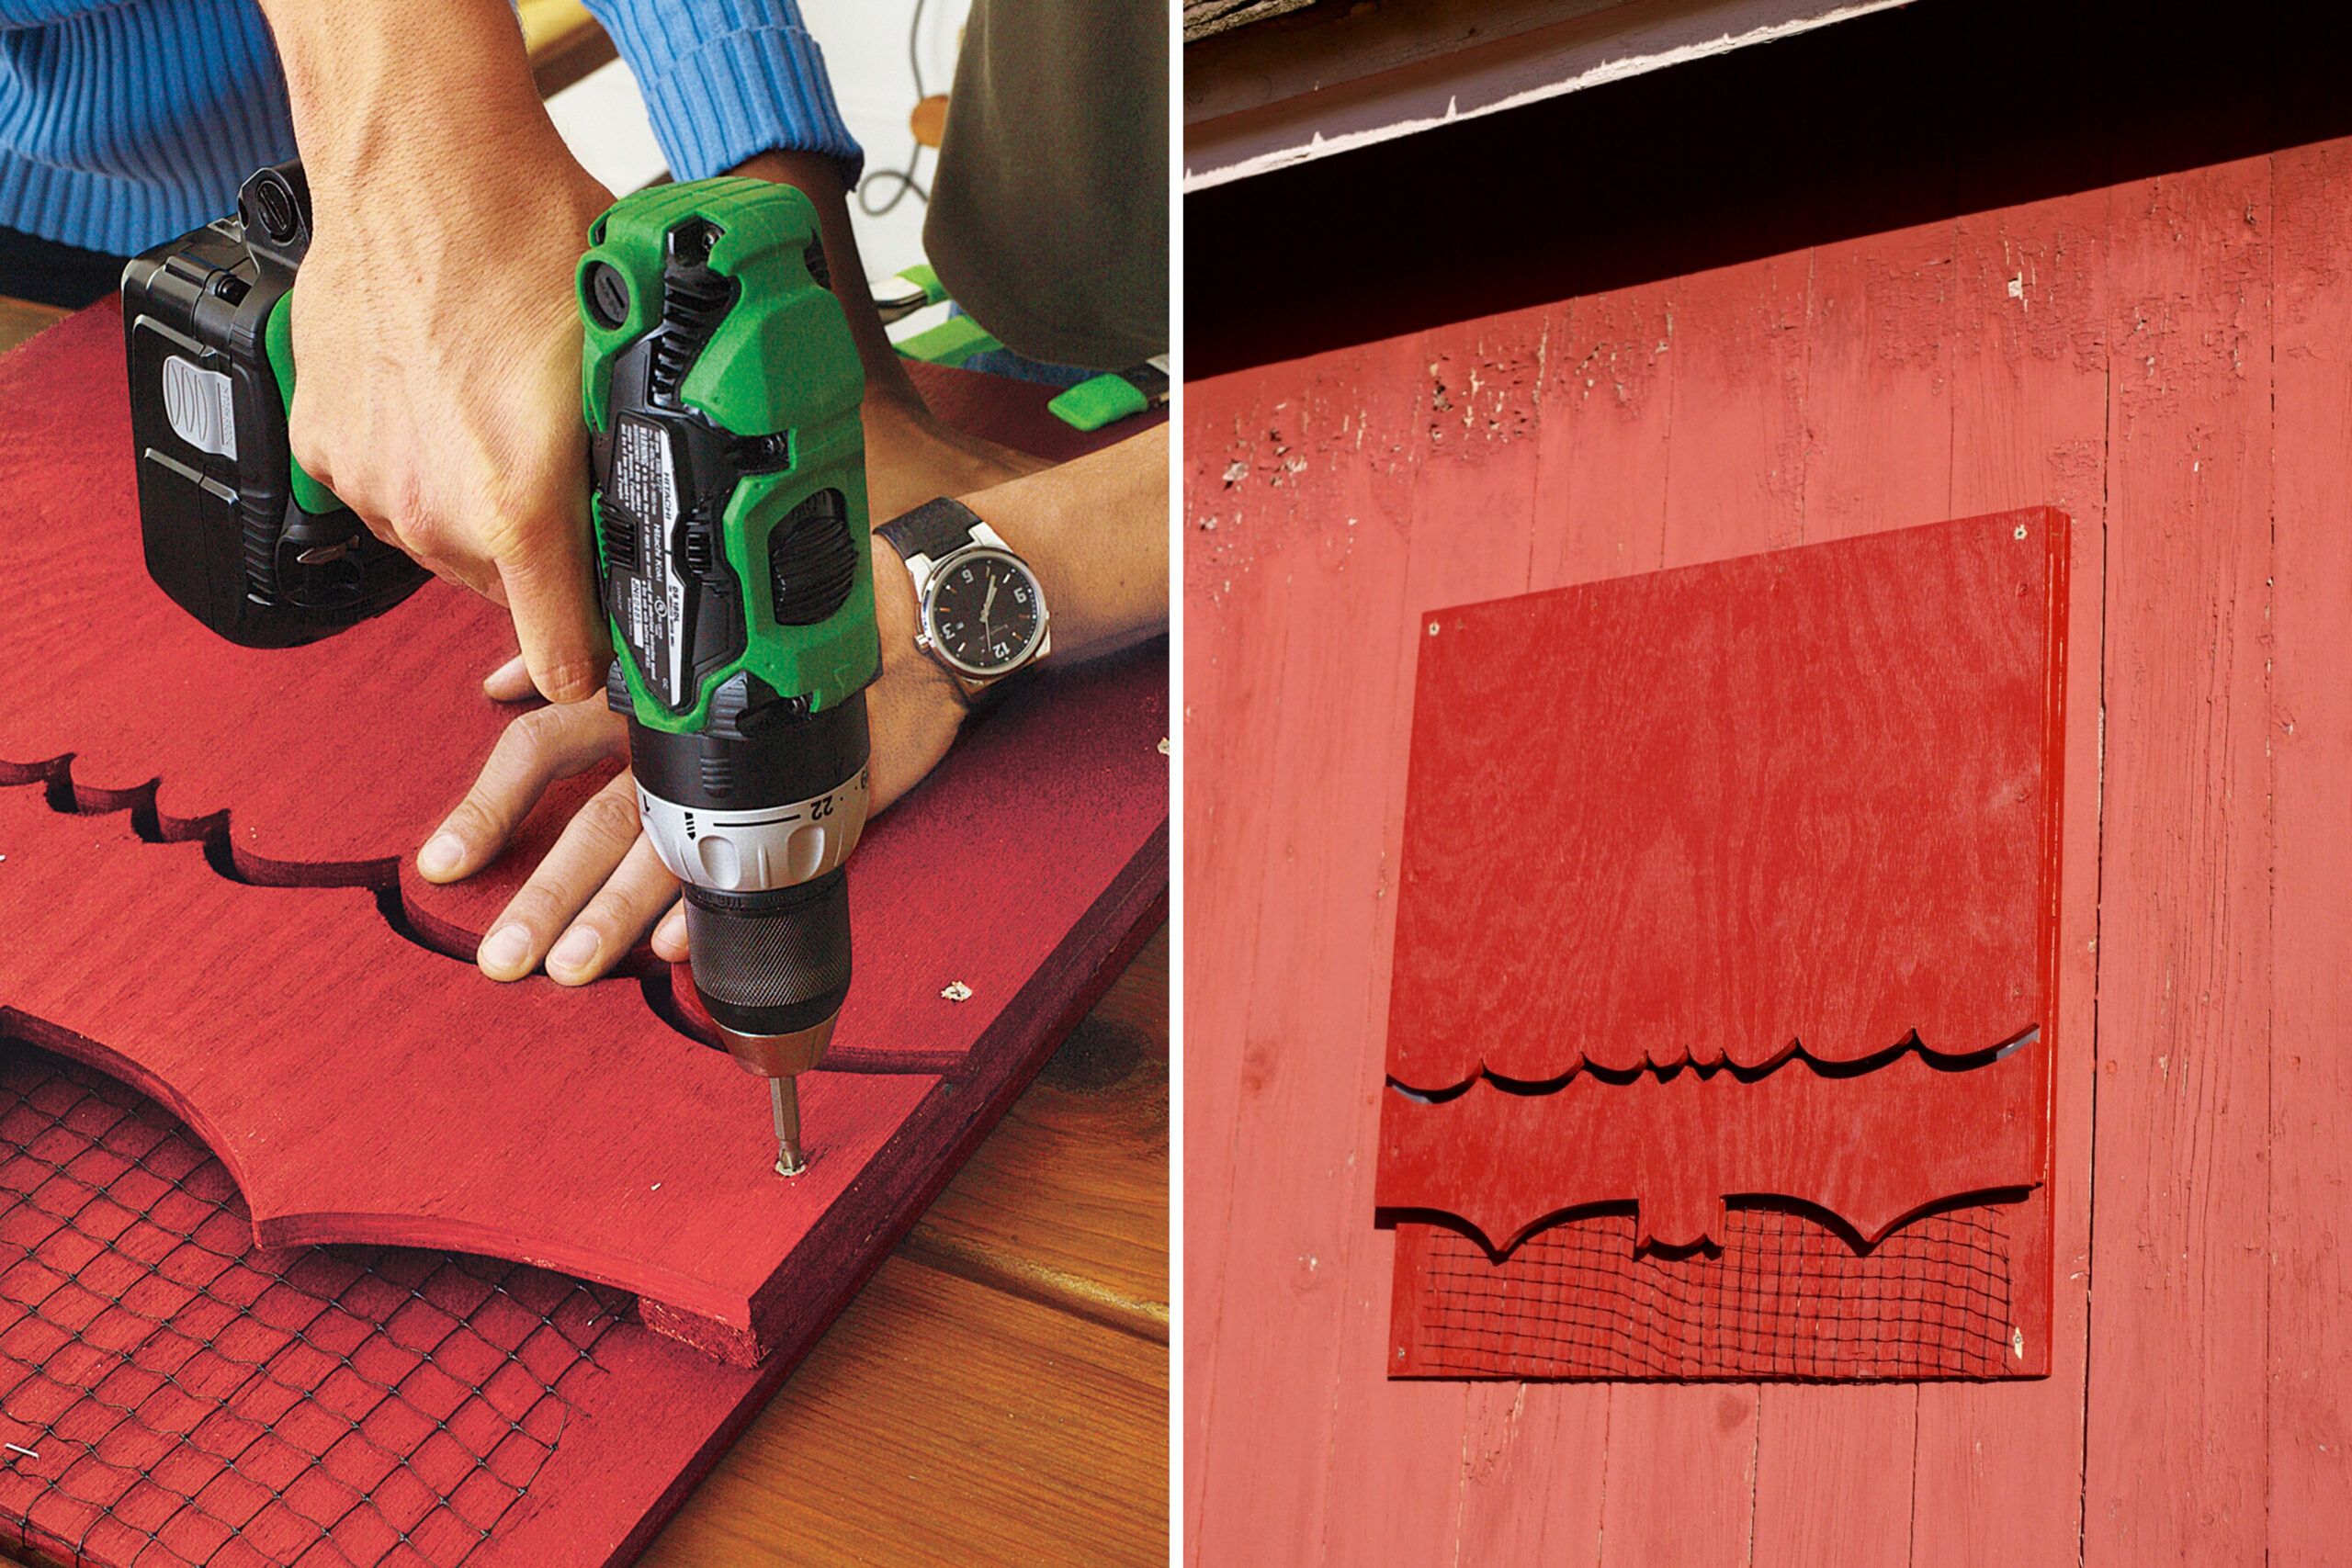
Bats are very particular about where they live. With that in mind, their houses must meet certain specifics to encourage them to nest. The inside of this house should be black to keep it dark and warm, and the outside is a color that makes it blend in with the surroundings. The space where they go inside the house and roost is only about 3/4-inch thick—with a small gap for air circulation. Still, dozens of bats can live in this box and raise their pups.
When working on this project, keep safety in mind at all times. A jigsaw is better off in adult hands, but kids can help out by caulking, driving screws, attaching the netting, and painting. Make sure everyone has safety glasses on when the saw is in use, and keep sleeves away from power tools.
Follow these steps to create a cozy home for your nocturnal neighbors:
Using your jigsaw or circular saw, cut the plywood into three pieces:
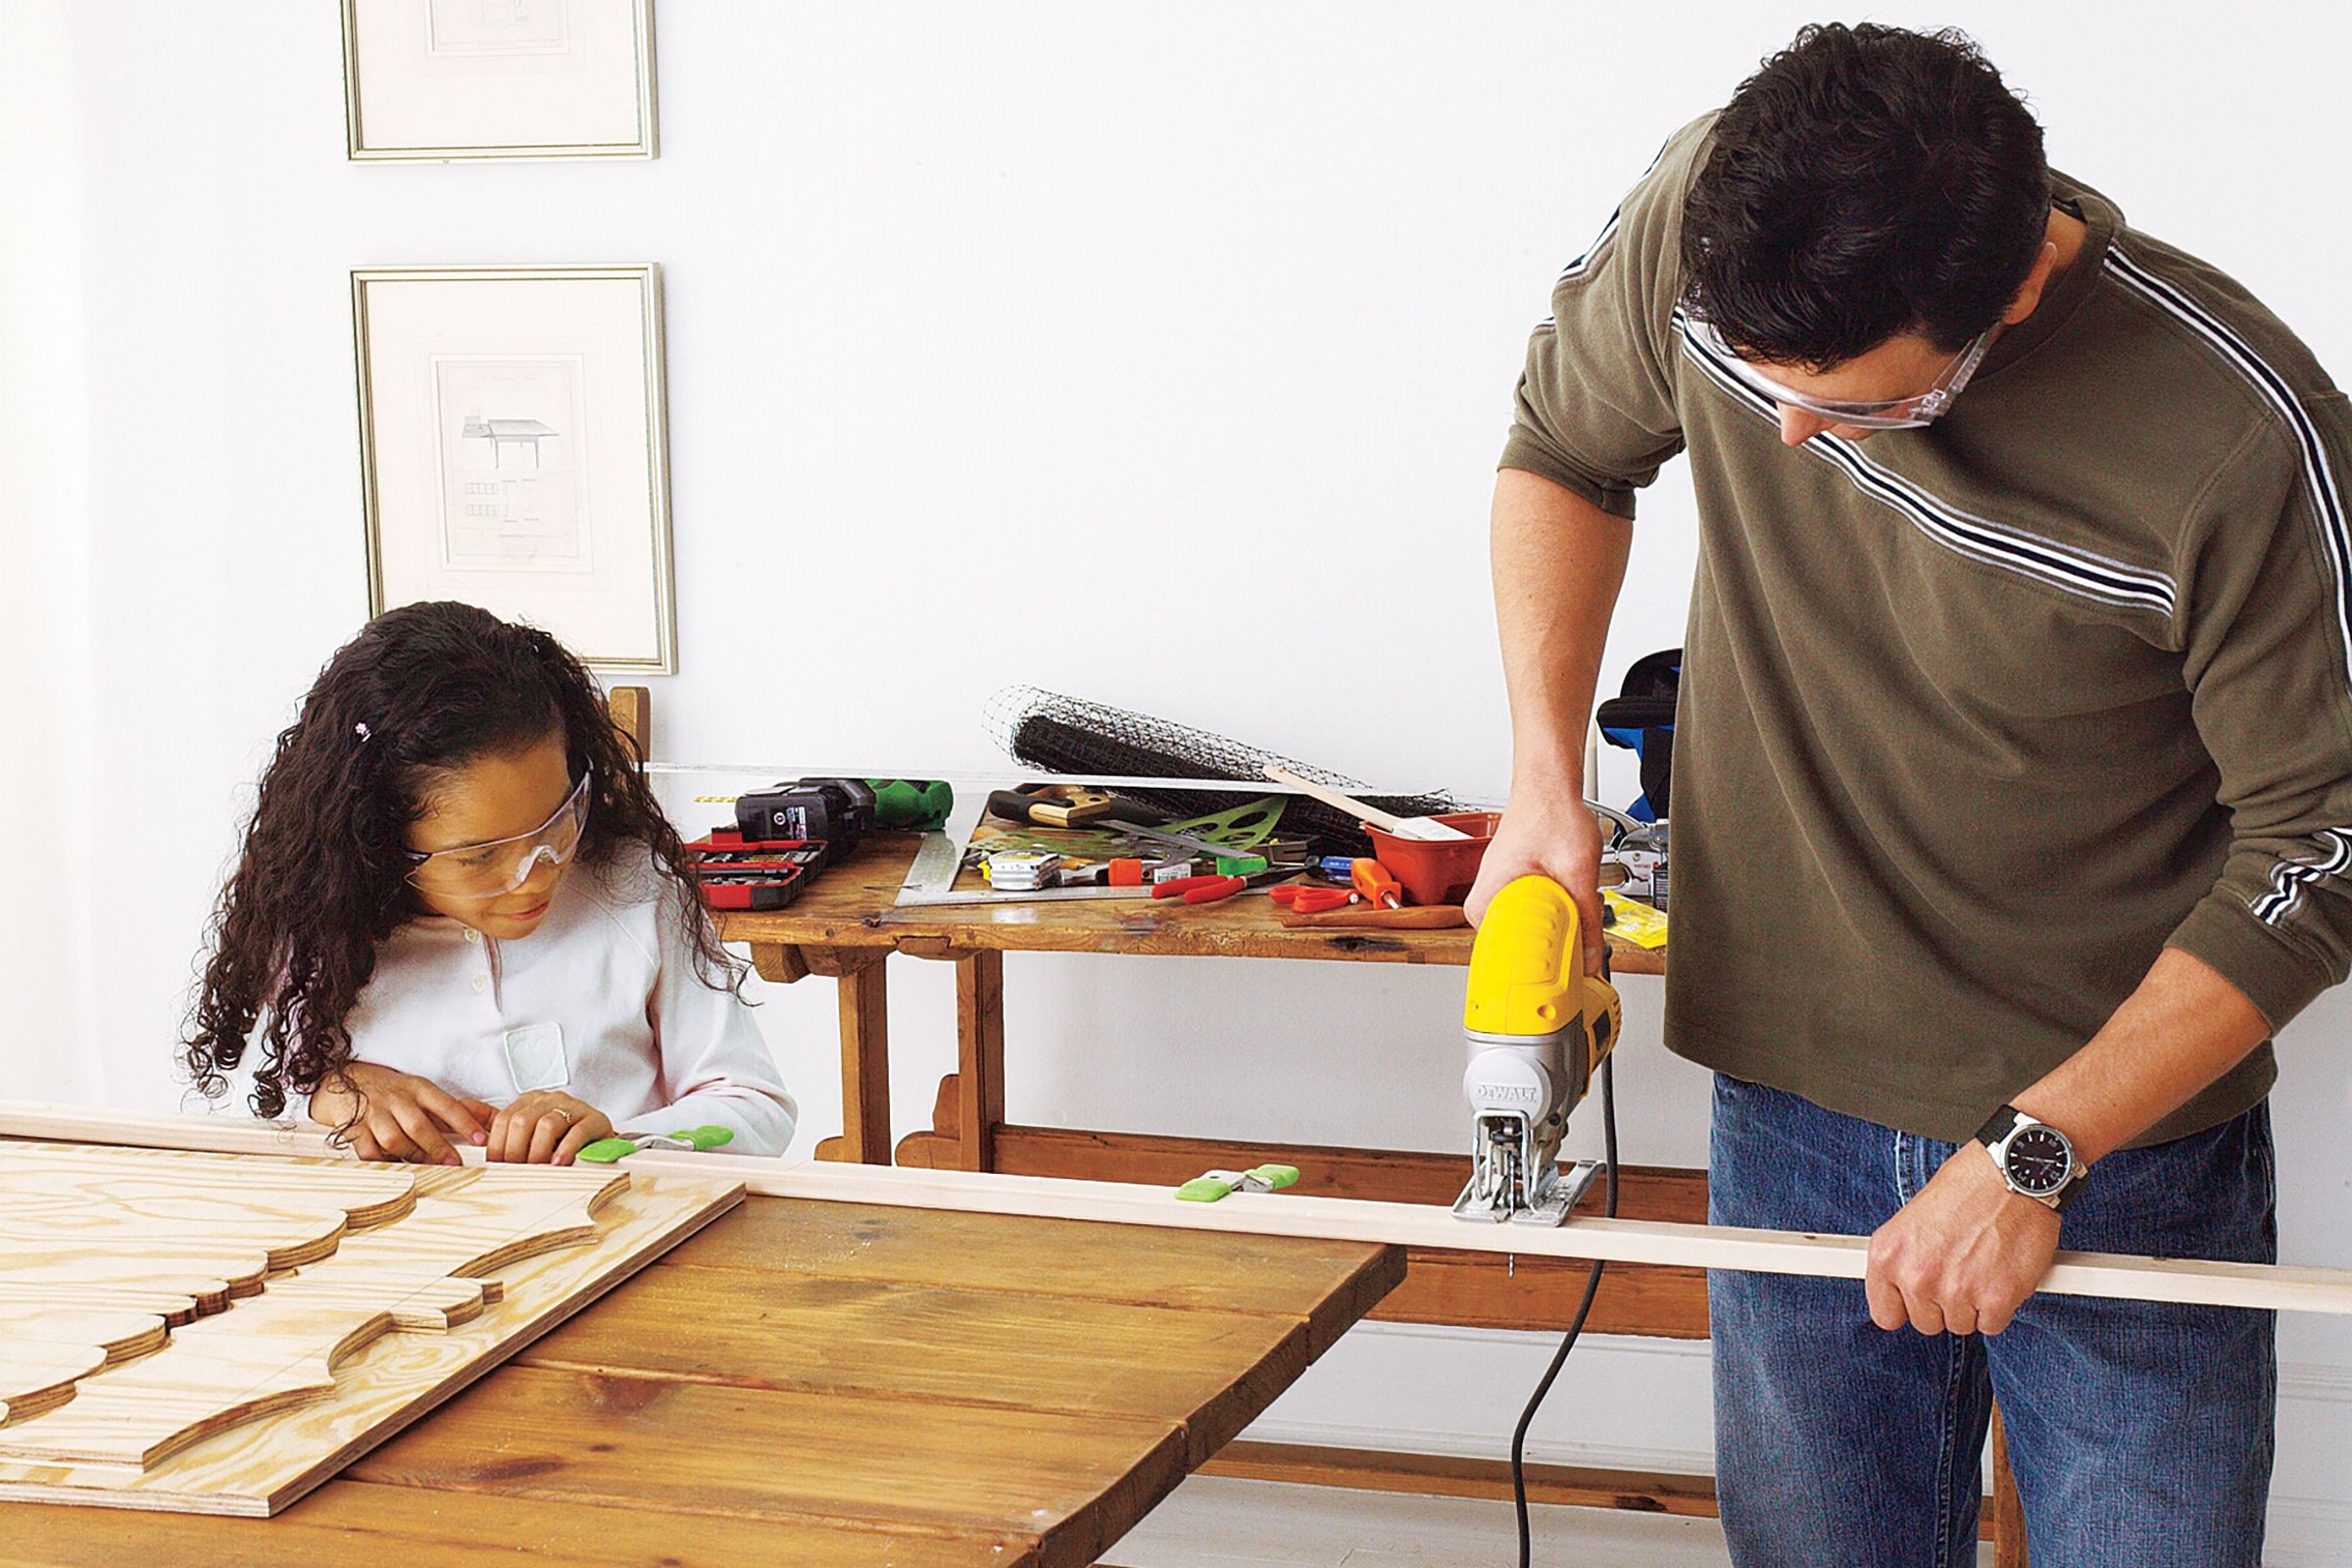
To parents: Using a jigsaw is definitely a job for an adult. But take this opportunity to teach your kids saw safety so they’ll be ready when they’re old enough.
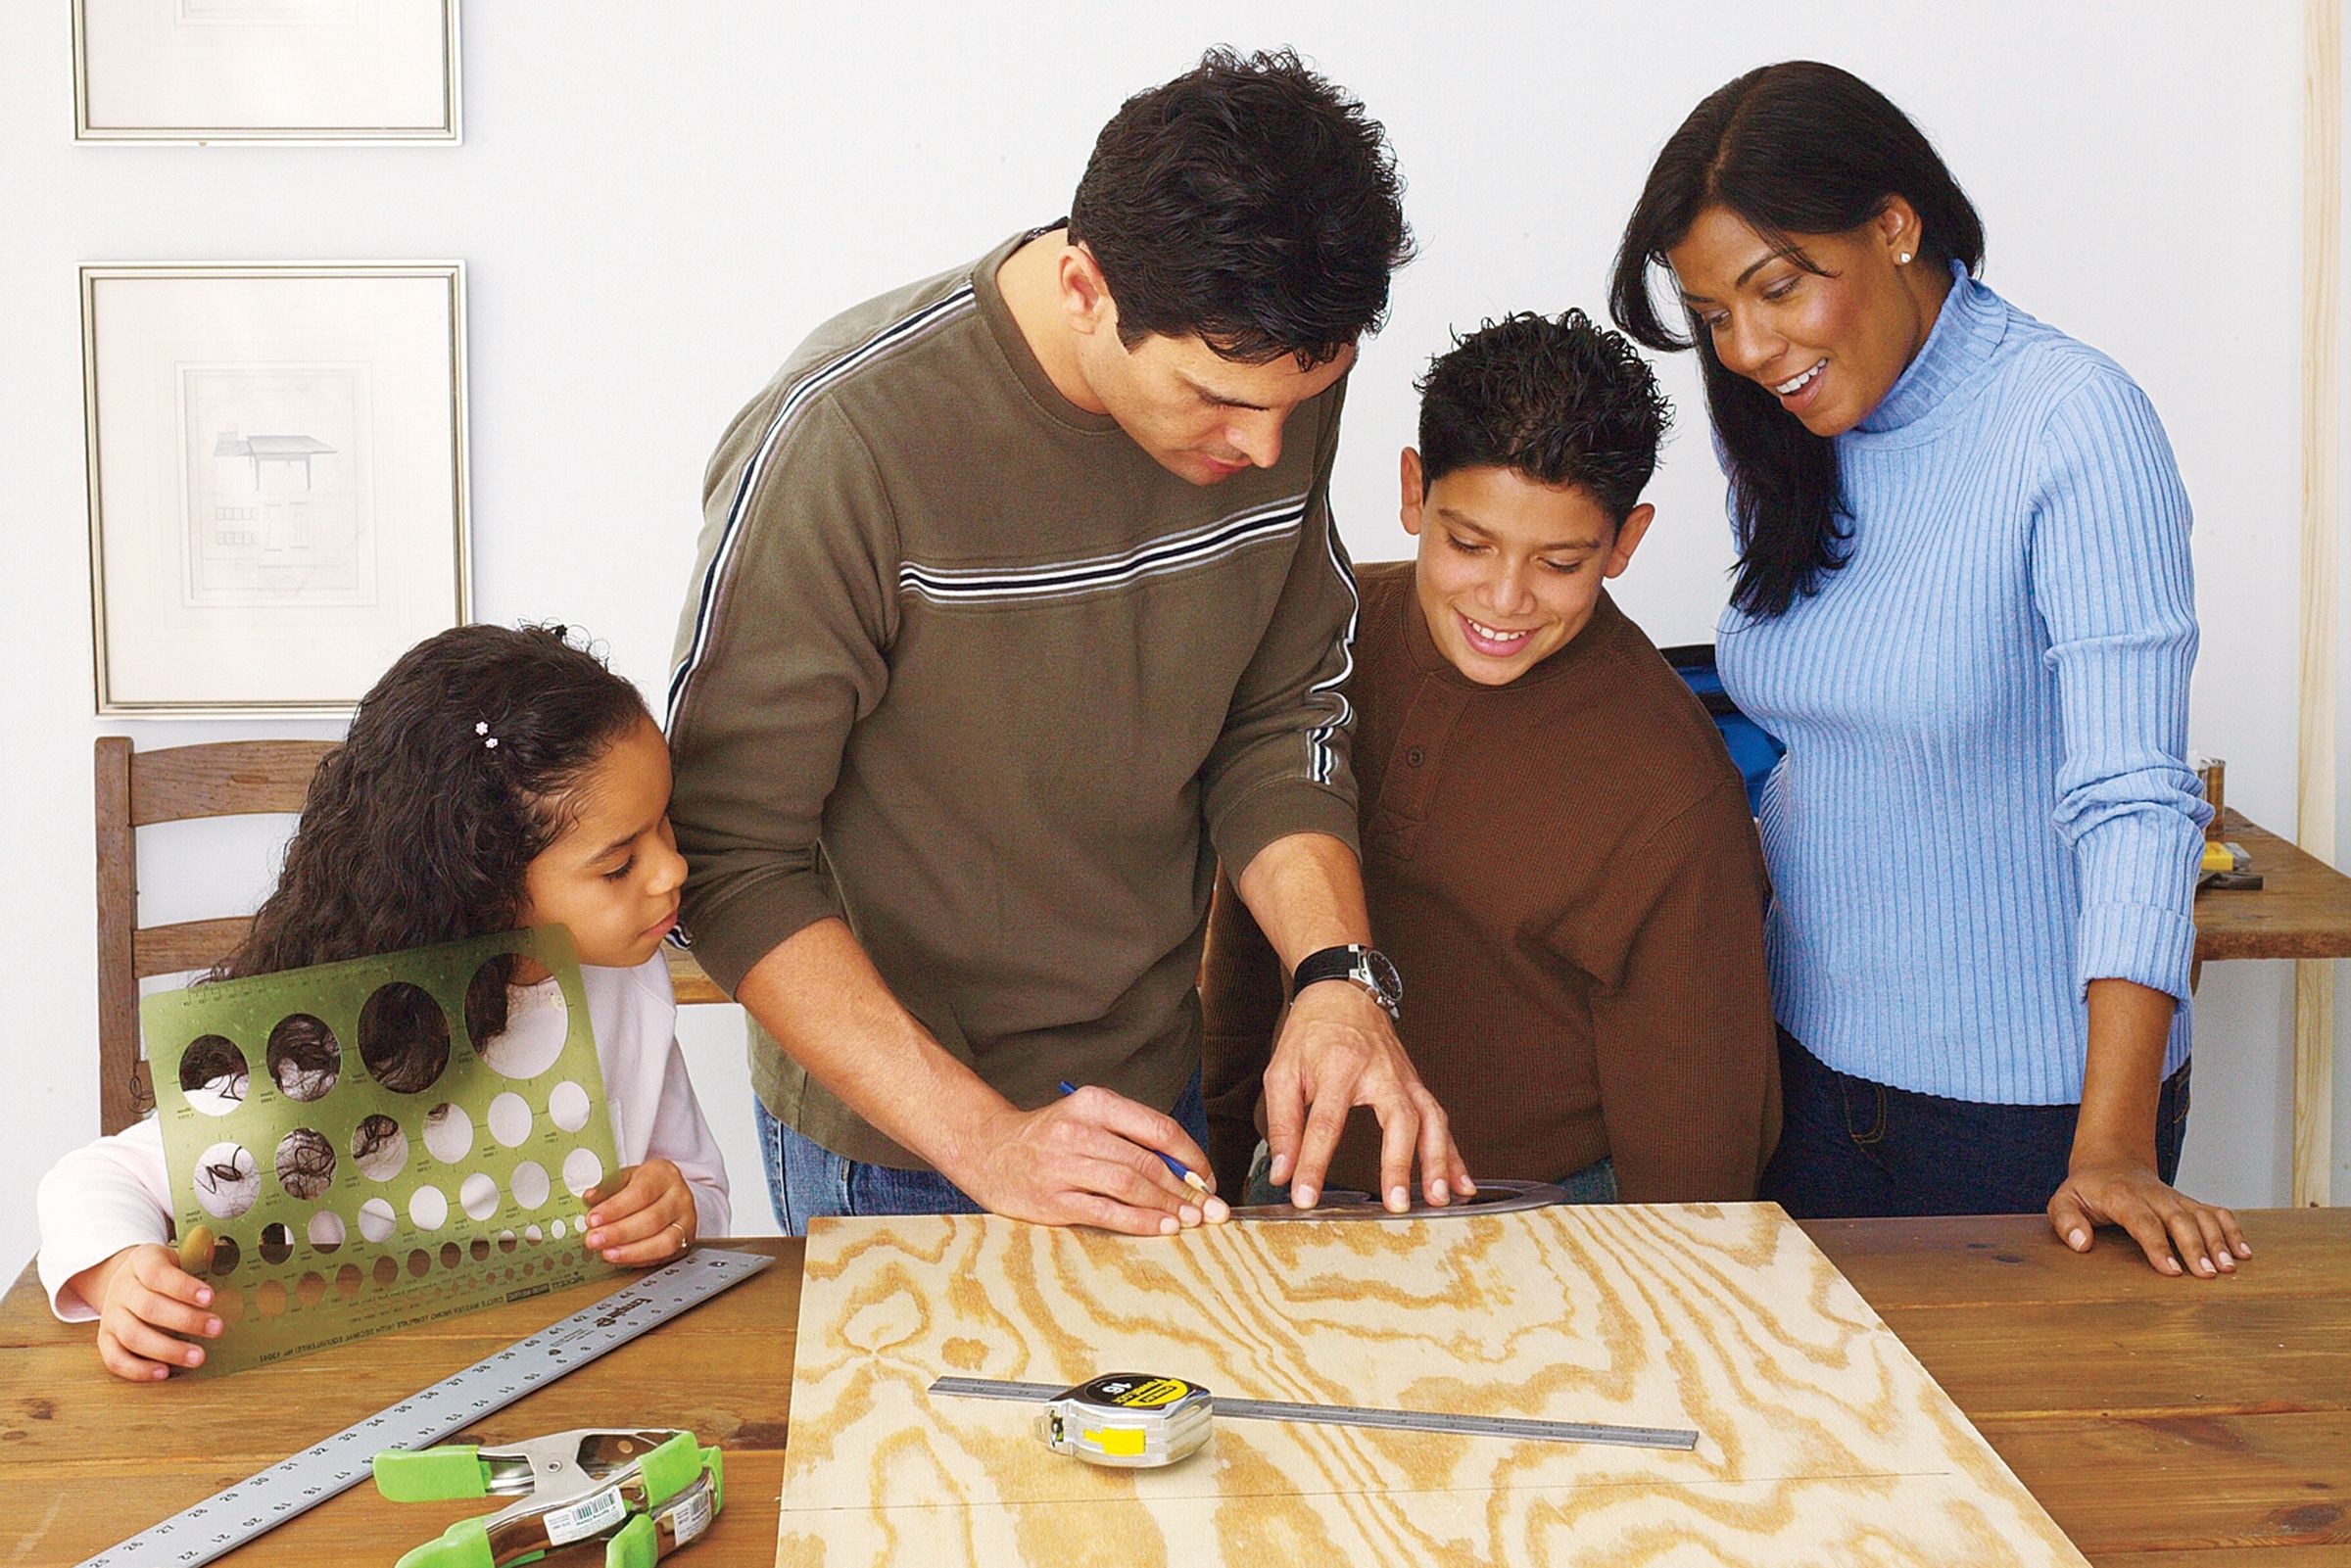
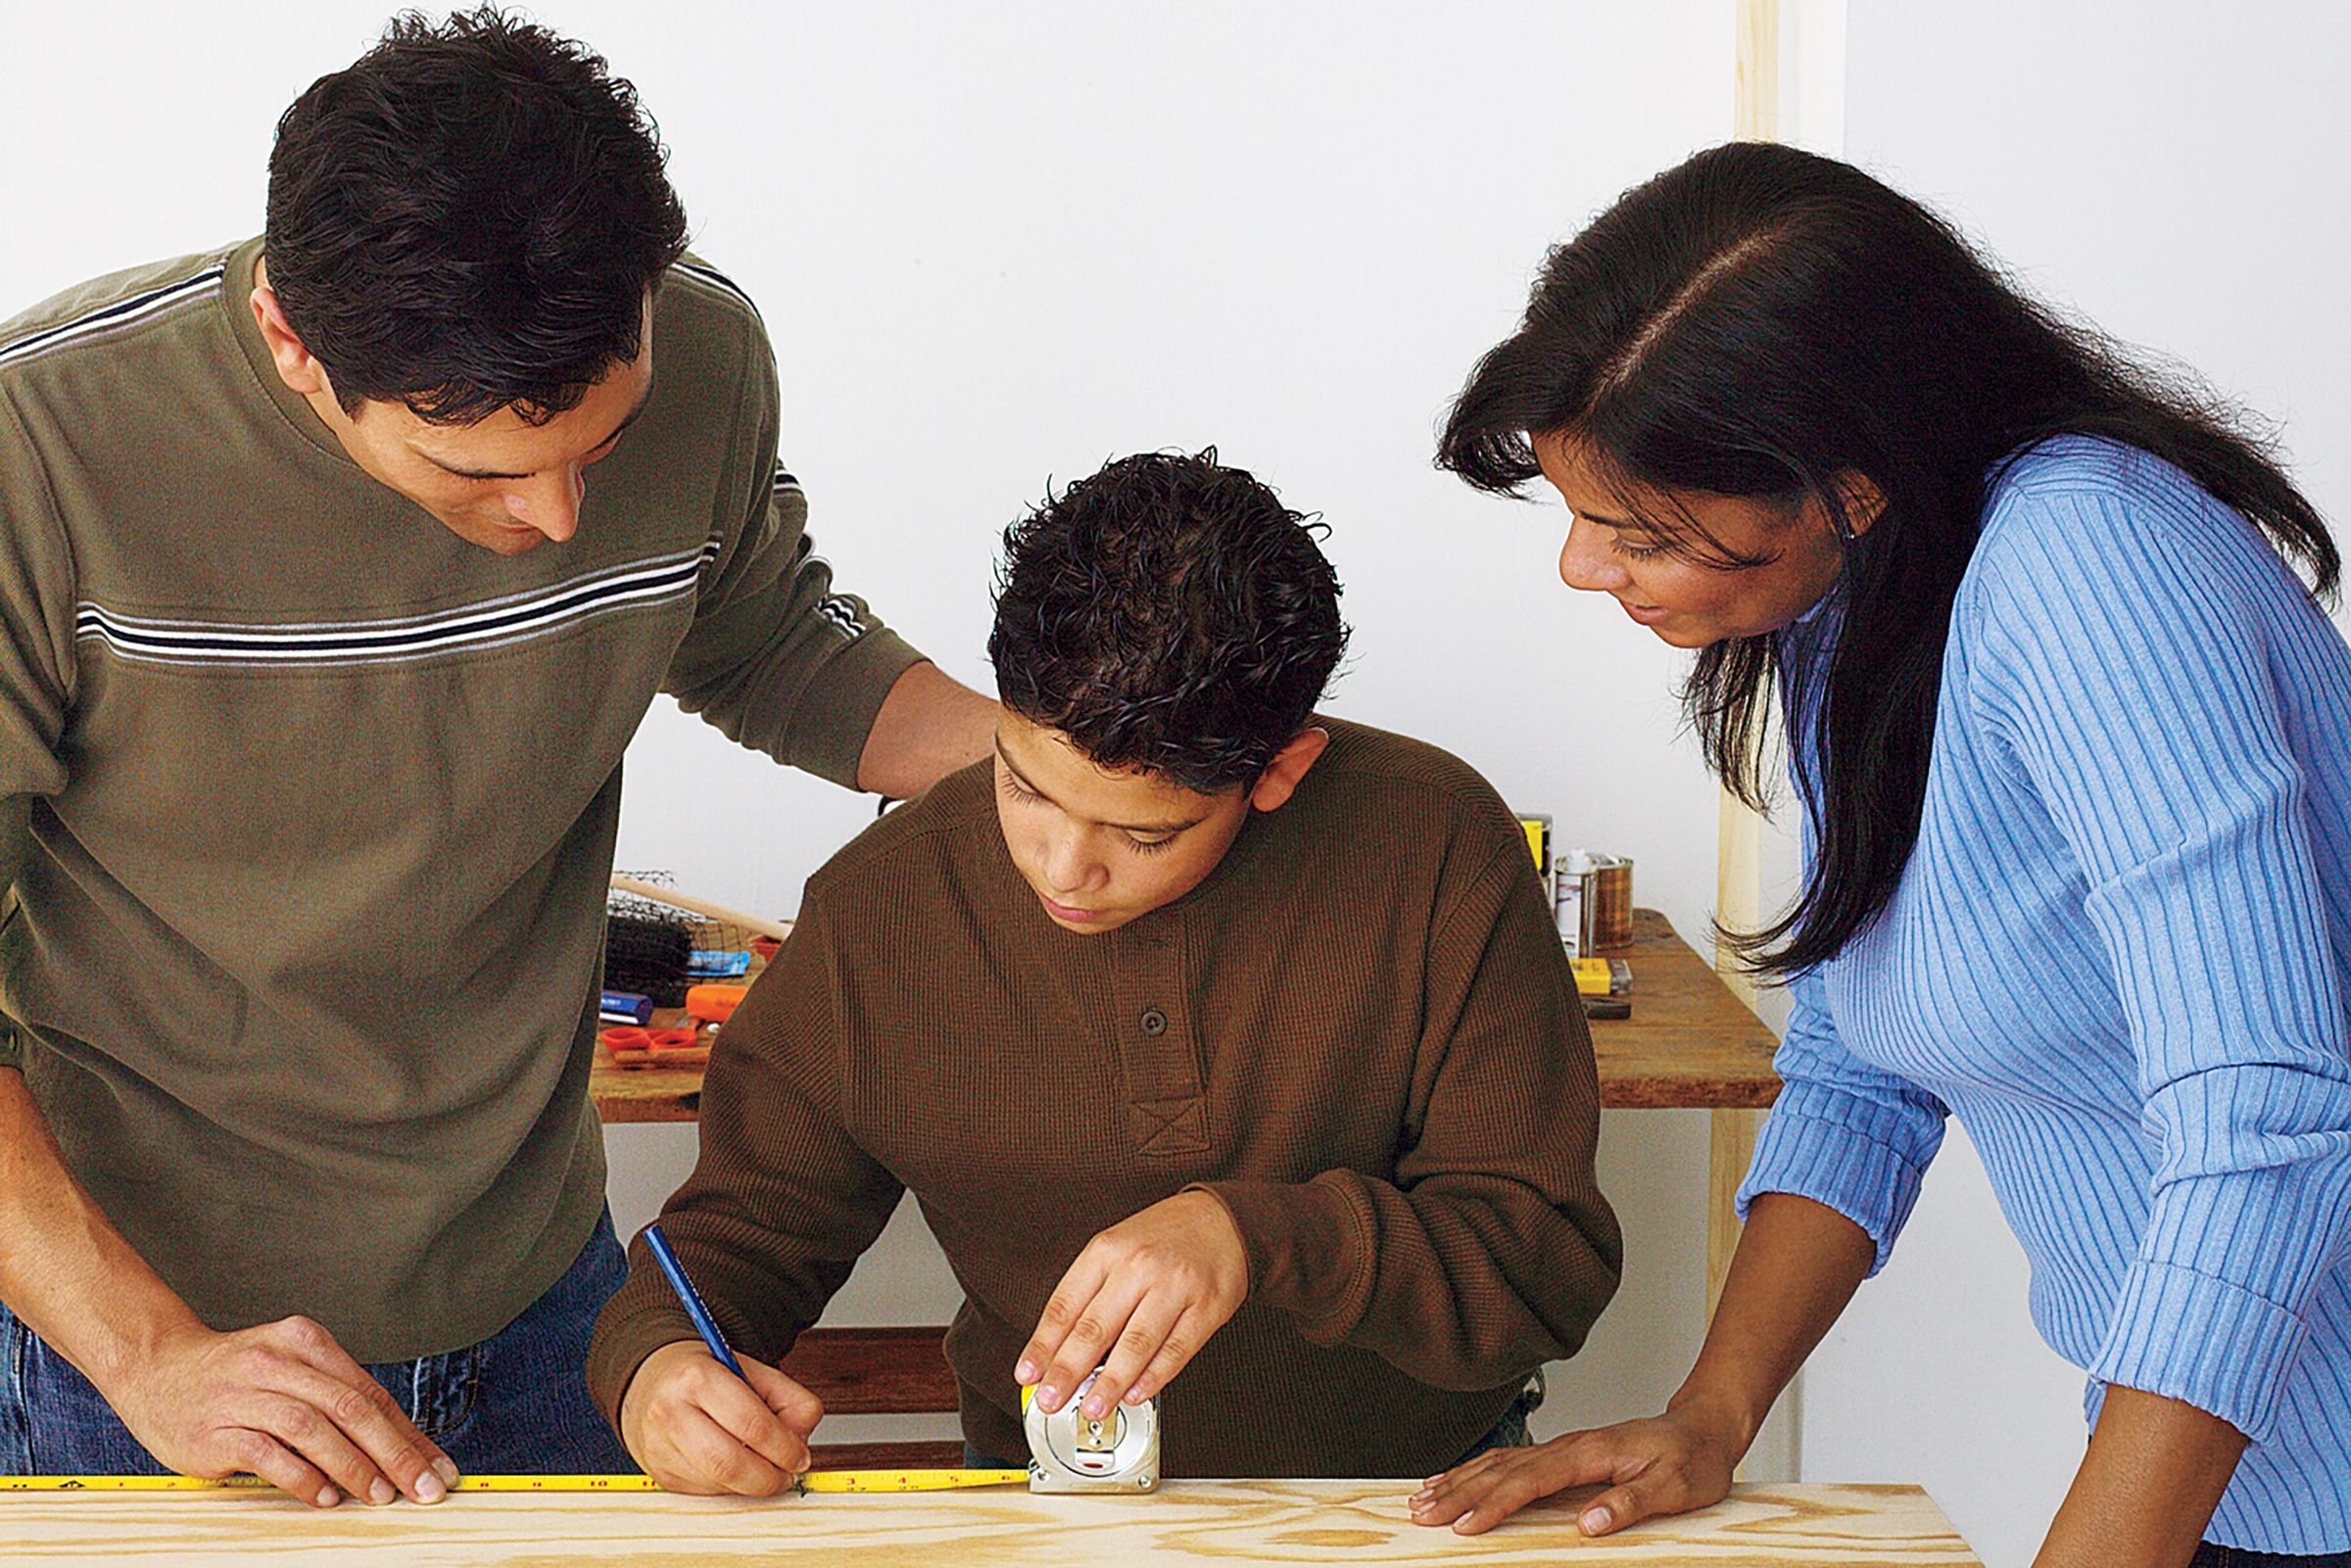
Draw or trace a bat shape using the provided template or French curves on the shorter plywood piece. The design should be 24 inches wide.
Hey, kids! French curves are great for helping you draw the bat wings, but you can also trace cans or cups to make curves of different sizes.
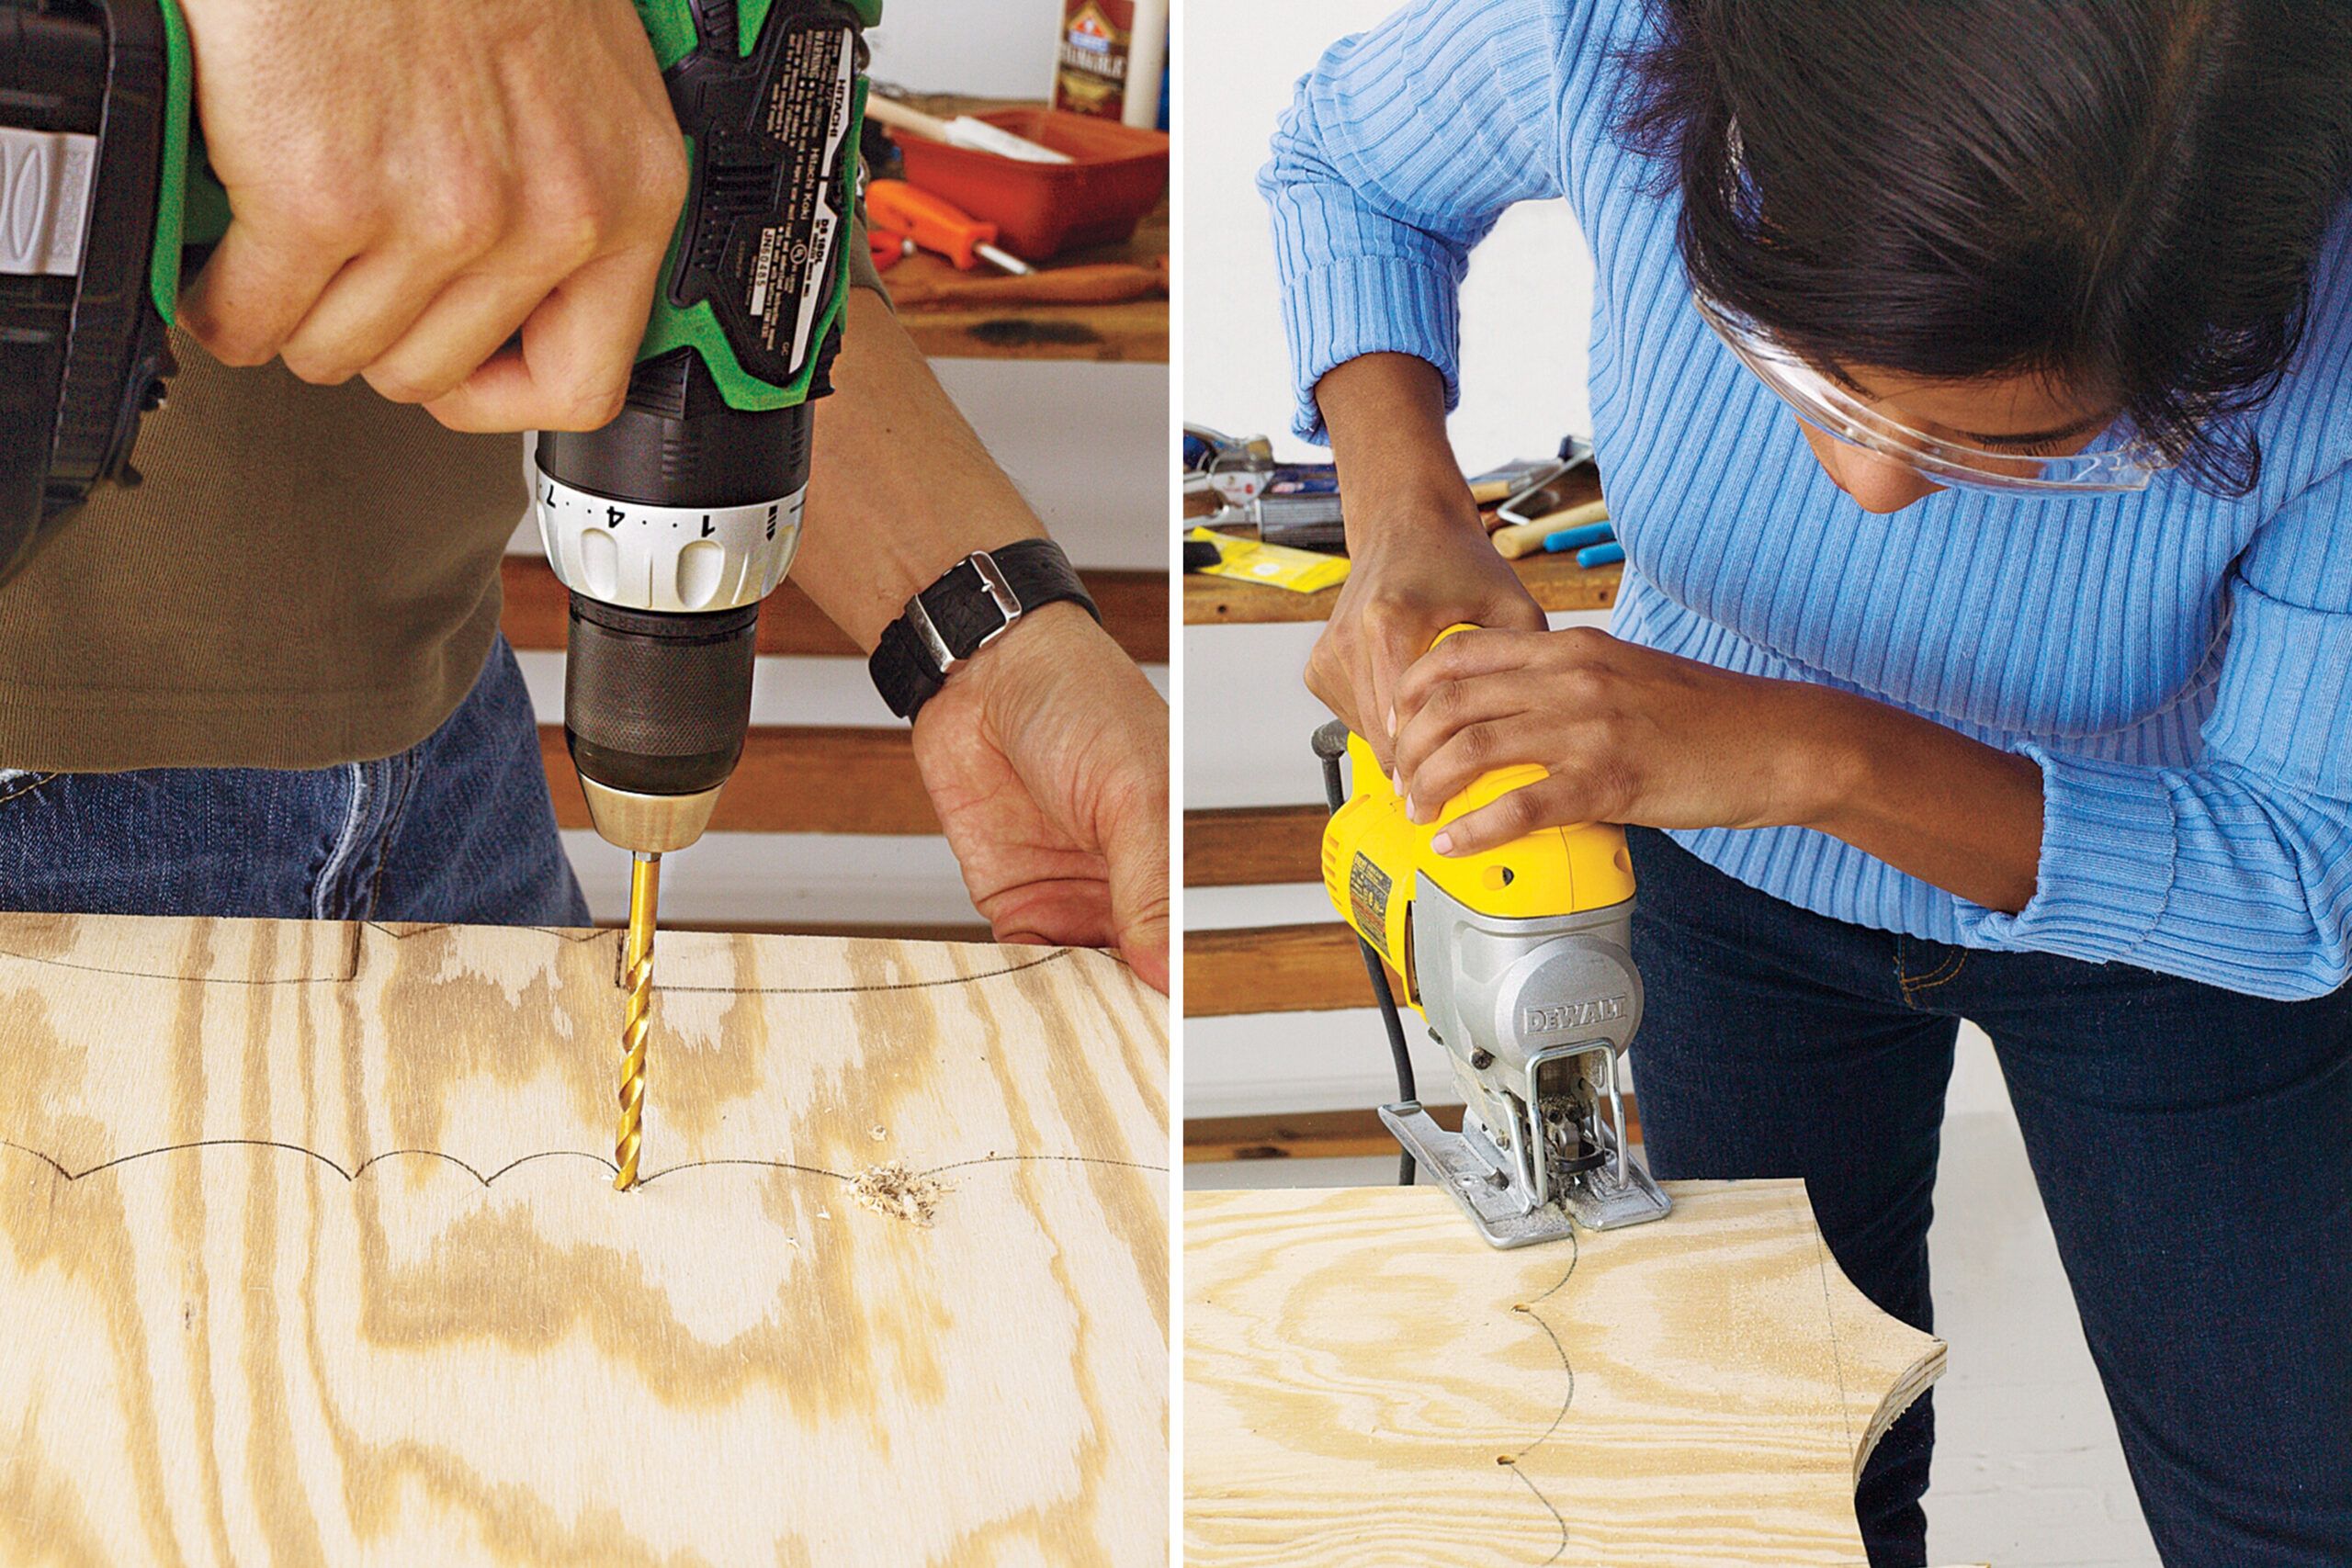
Clamp the plywood with the bat design to your worktable, making sure the whole bat hangs over the edge. Using a drill/driver with a 1/4-inch bit, drill holes just inside the points of the bat shape. This will make it easy to turn your jigsaw blade as you cut out the curved parts.
Using a jigsaw fitted with a narrow scroll blade, which is designed for making intricate curves, cut out the bat design. Cut the shape closest to the edge first, then cut the whole bat from the sheet. Both halves of the cutline must look clean, so work slowly and carefully. Whenever you get to a drill hole at one of the points, stop the saw and turn it before you continue.
Cut four pieces from the 1-by-2-foot lumber:
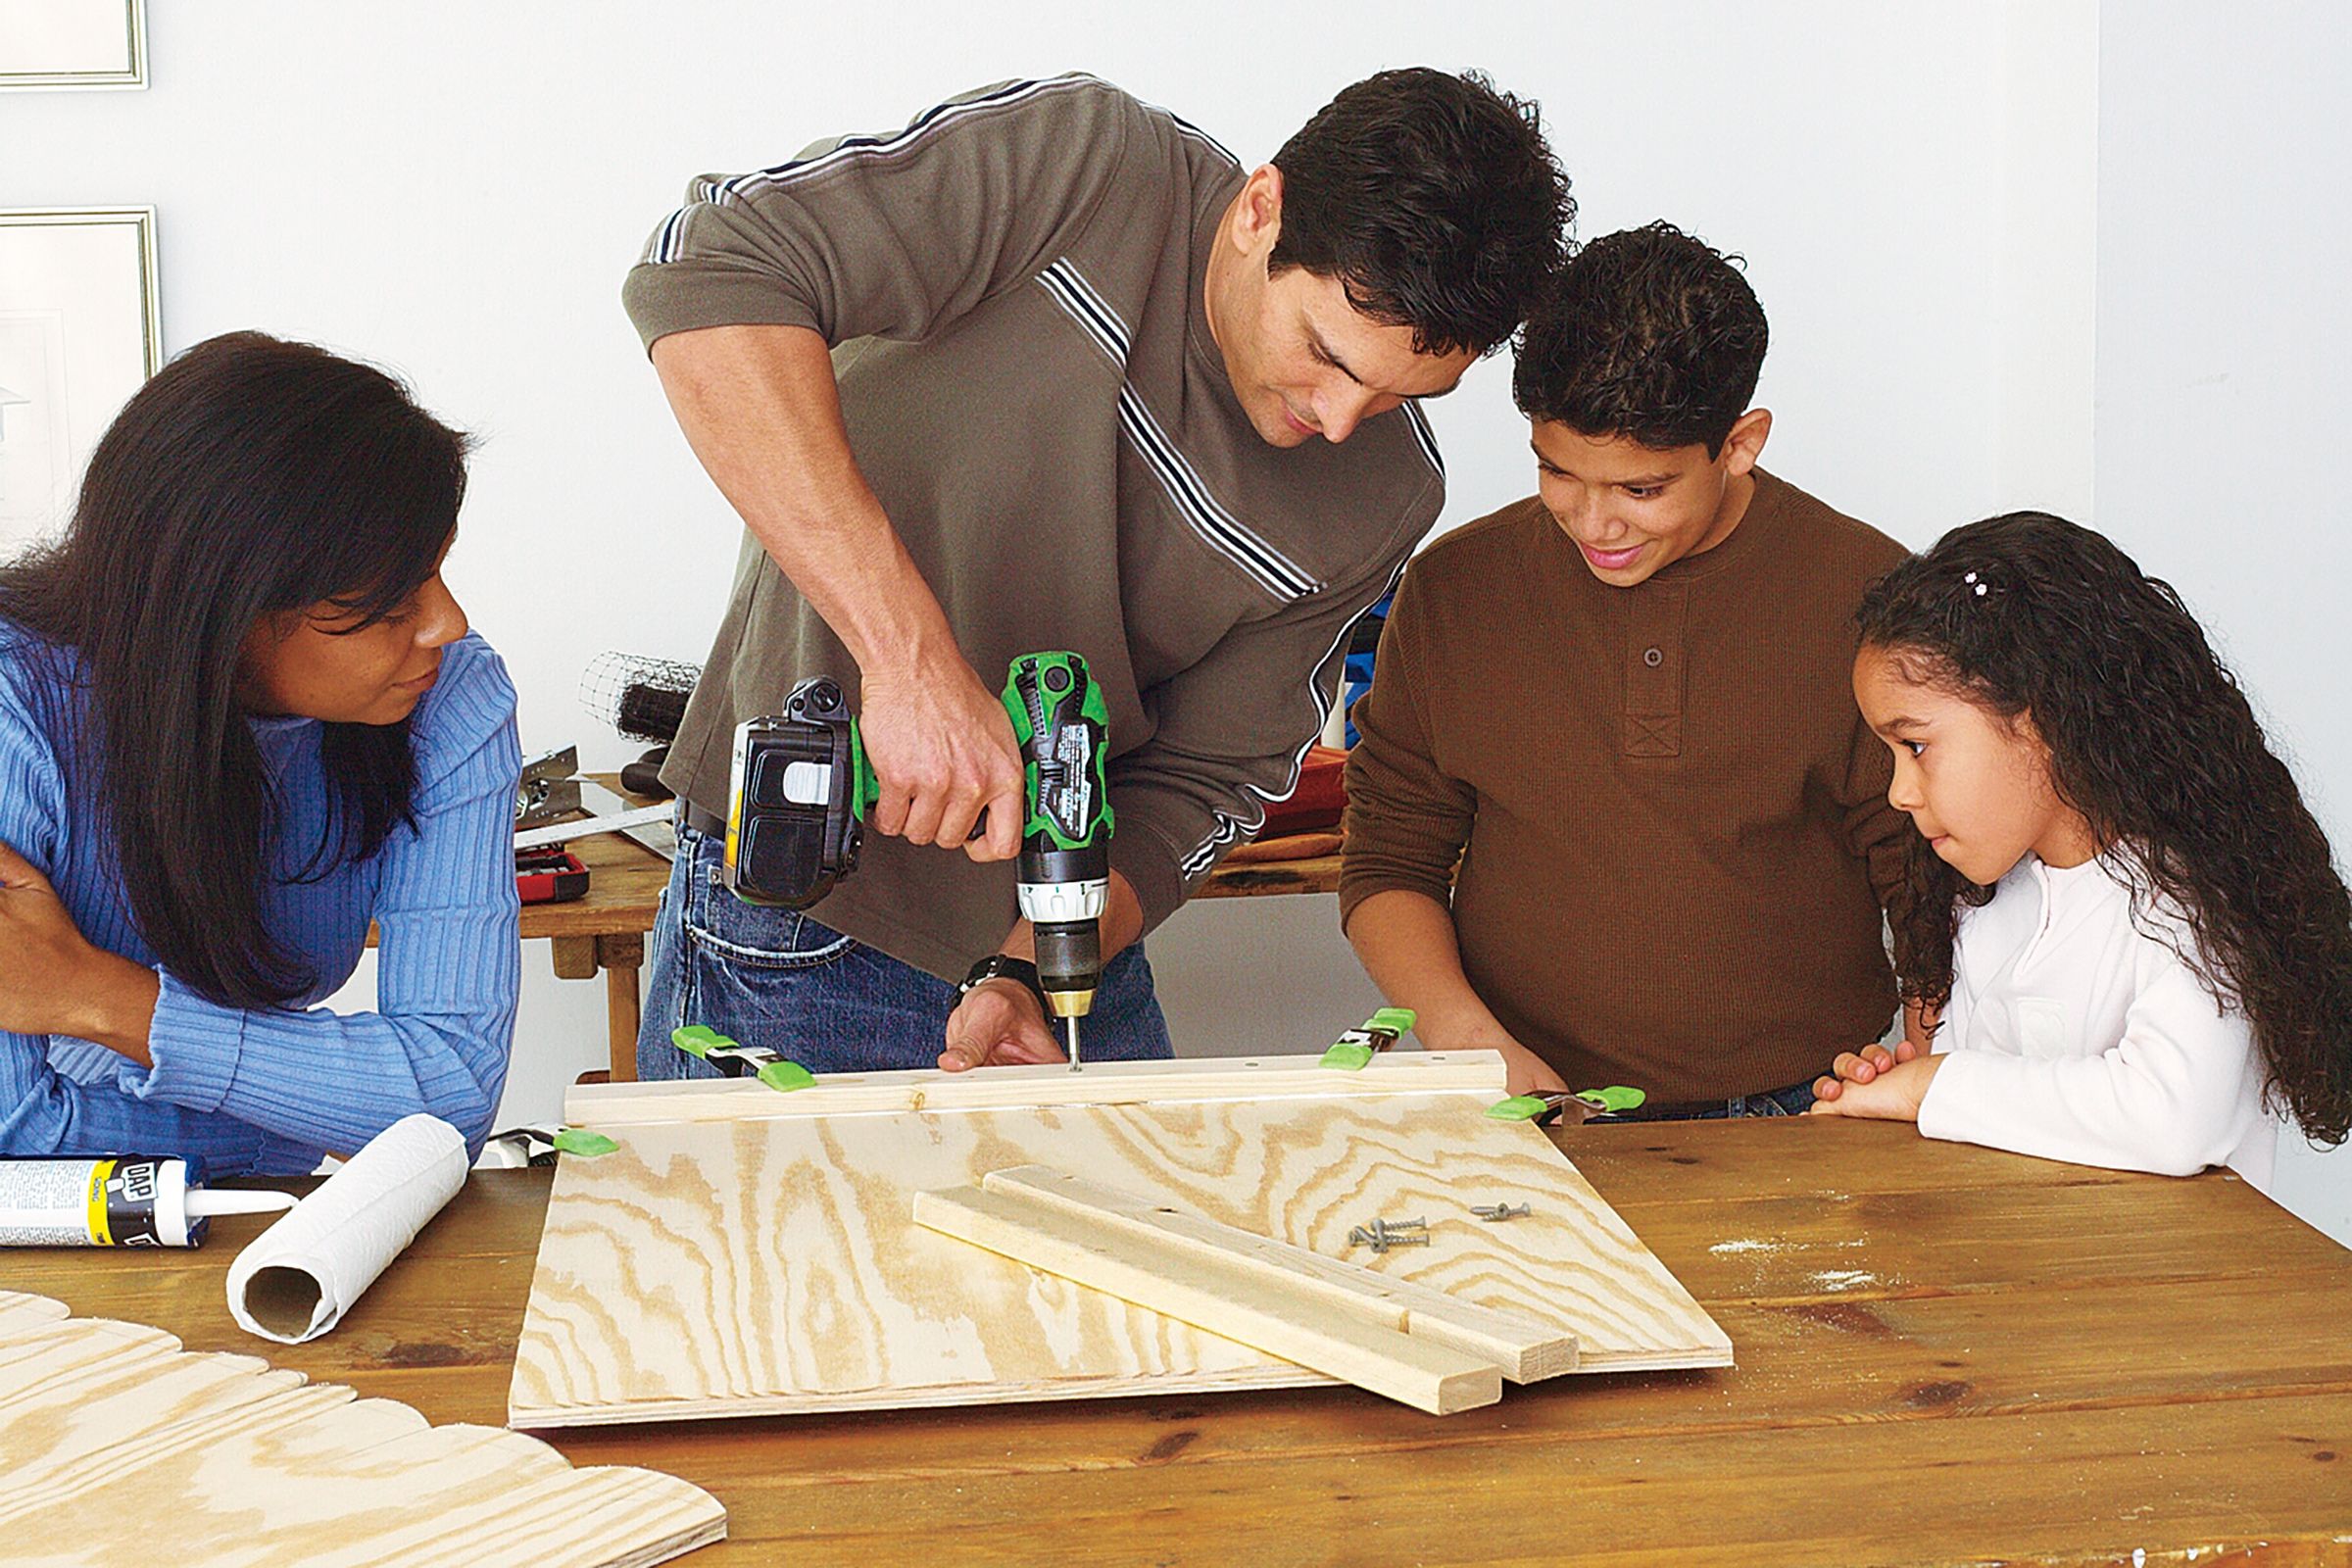
Using a caulk gun, lay a bead of caulk along the face of the long 1-by-2-foot. Line it up with the top edge of the larger piece of plywood and clamp it in place with spring clamps. Using a drill/driver, drive 1-inch deck screws through the 1-by-2-foot and into the plywood every 6 inches to hold it in place.
Attach the two shorter pieces to the sides similarly, and caulk the ends where they meet the top piece before you clamp them down. Use a damp rag to wipe up any caulk that oozes out.
Hey, kids! You can help out with the caulking while your parents get the clamps ready.
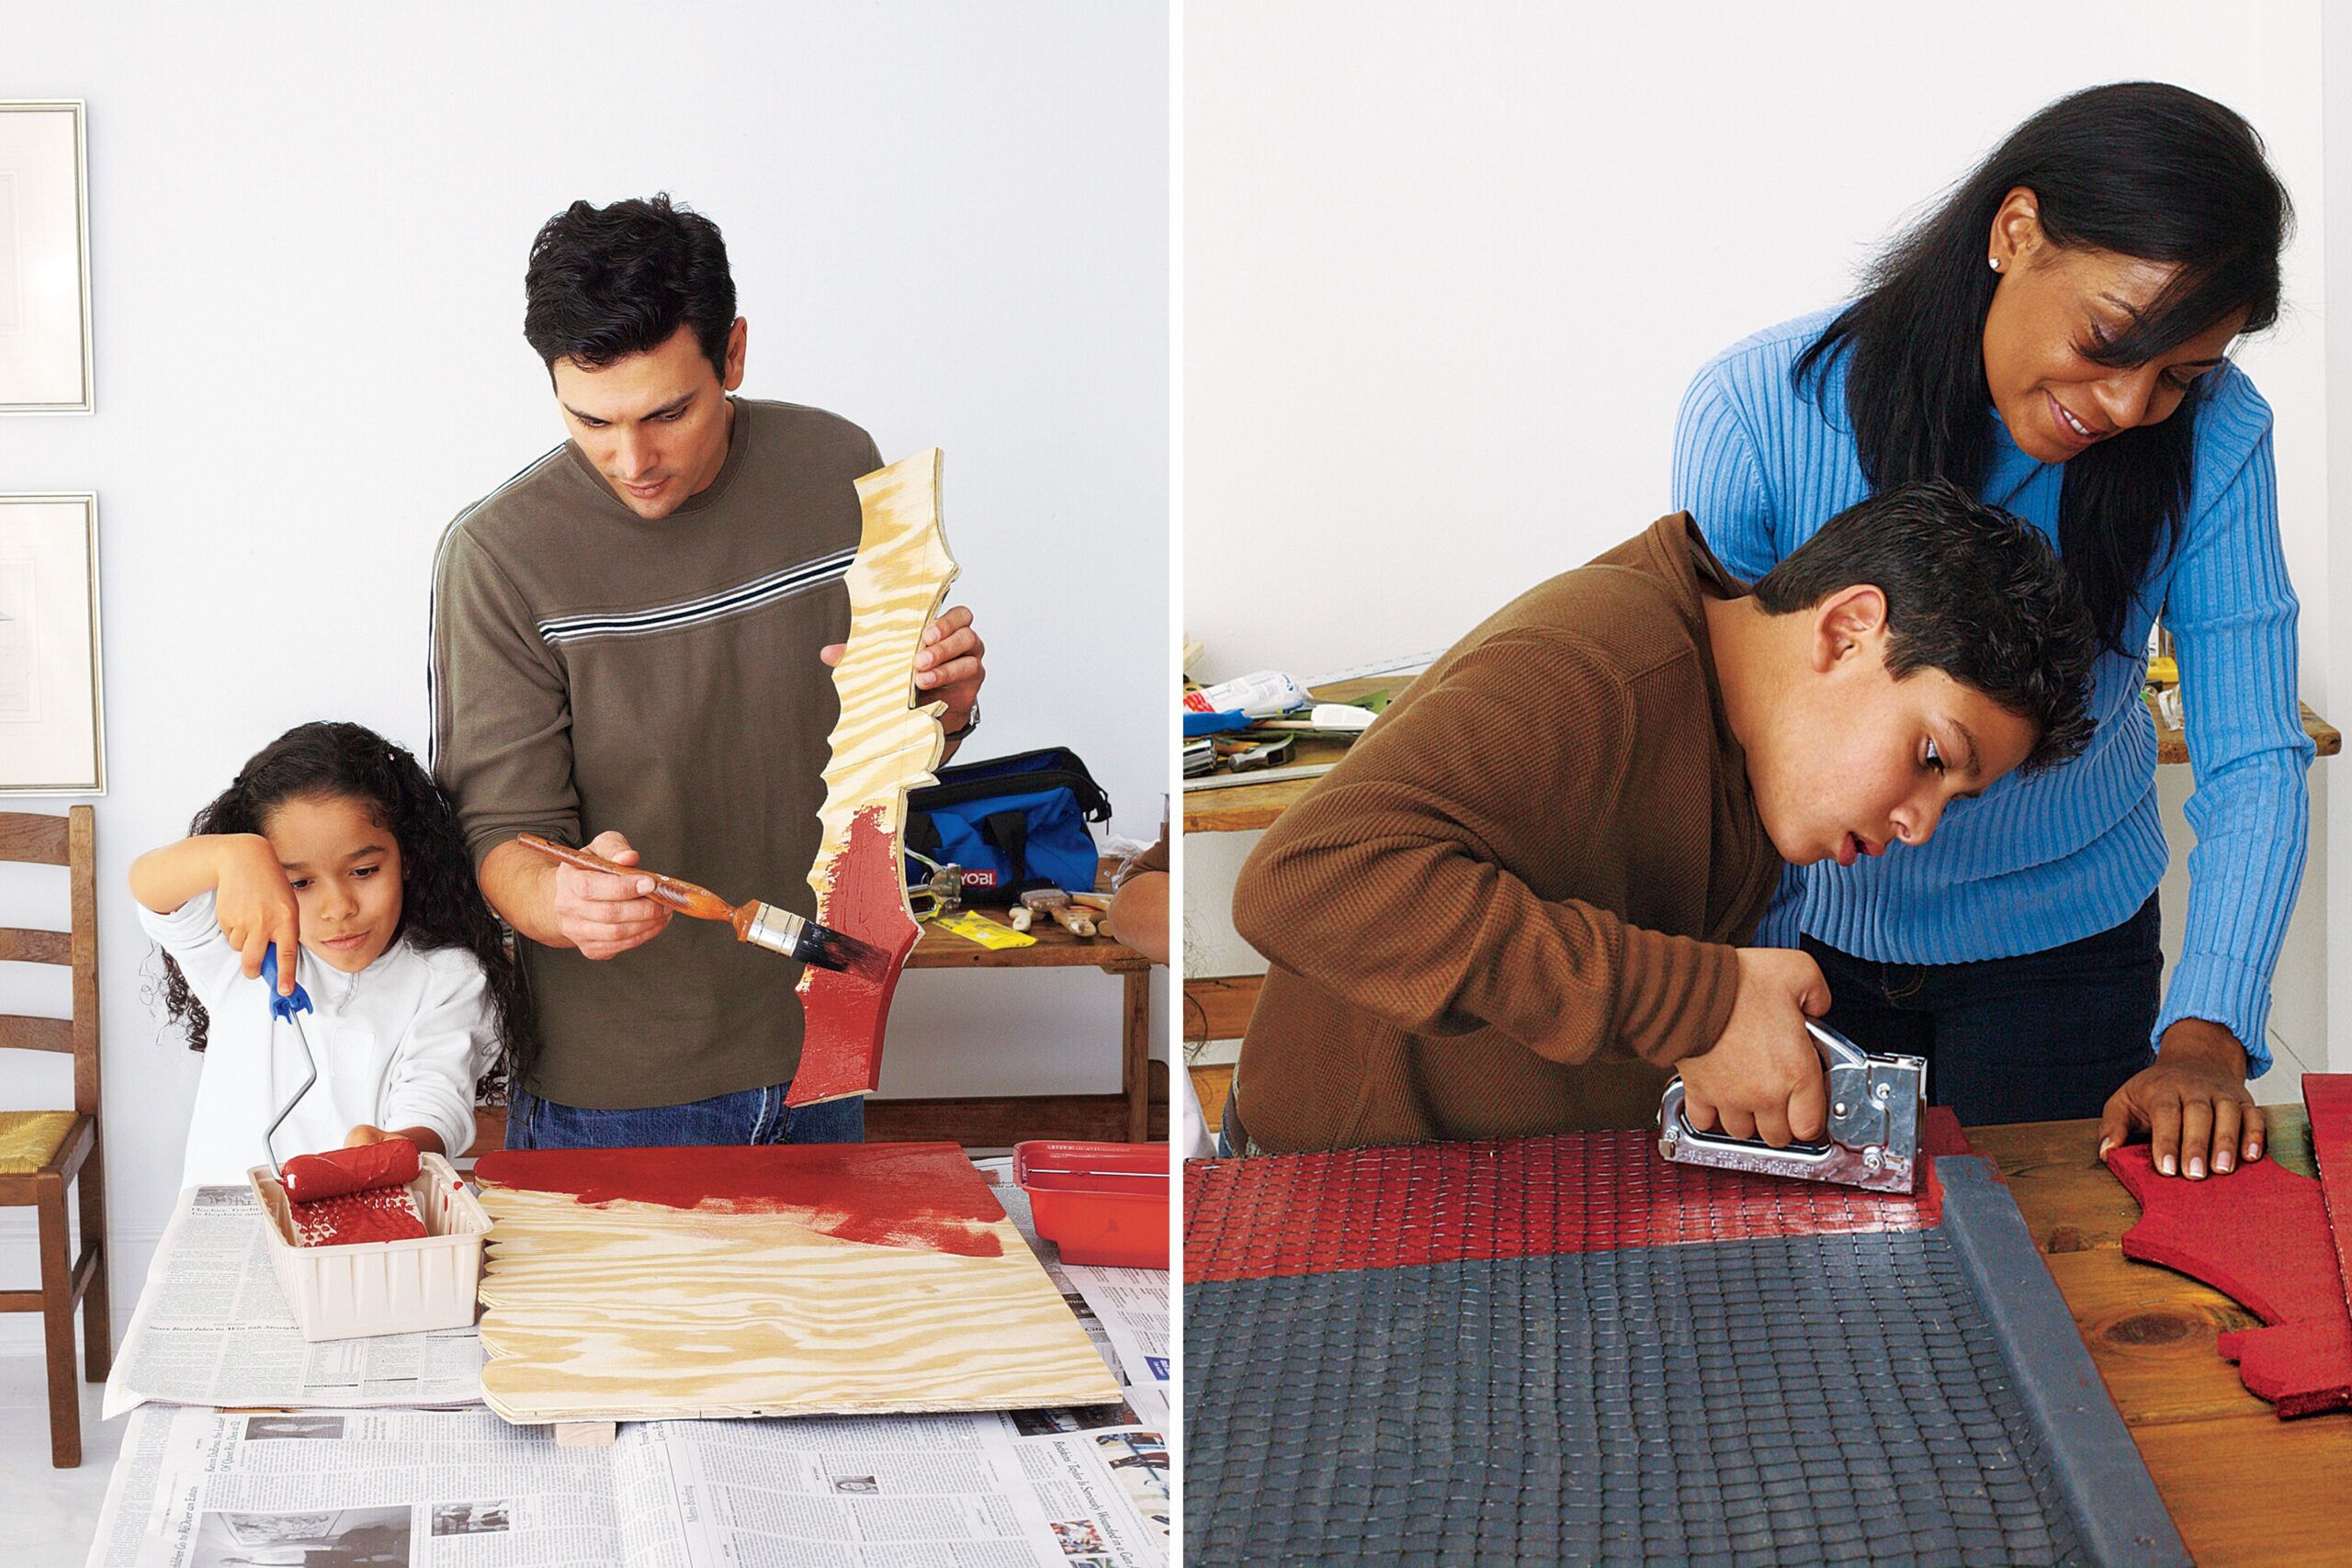
Using a brush and roller, paint the back piece black, from the top edge to the ends of the 1-by-2-foots. Also, paint the back of the front piece black. These will form the dark inside of the bat house.
Paint the other surfaces in a color that will help maintain a healthy temperature inside the house. If you live in the North, a dark color can keep the house toasty by absorbing the sunlight. In the warm South, a light color may be a better choice. Be sure all surfaces of the wood are painted and well sealed.
Let the paint dry completely before moving on.
Unroll the deer netting and lay it over the inside of the back section, flat against the plywood. Using a staple gun, attach the netting to the inner edge of the top 1-by-2-foot and along the sides. Make sure to pull it taut, so it can’t sag when bats hang from it. Extend the netting over the bottom edge and wrap it around to the back. Once it’s stapled all around, cut off the excess.
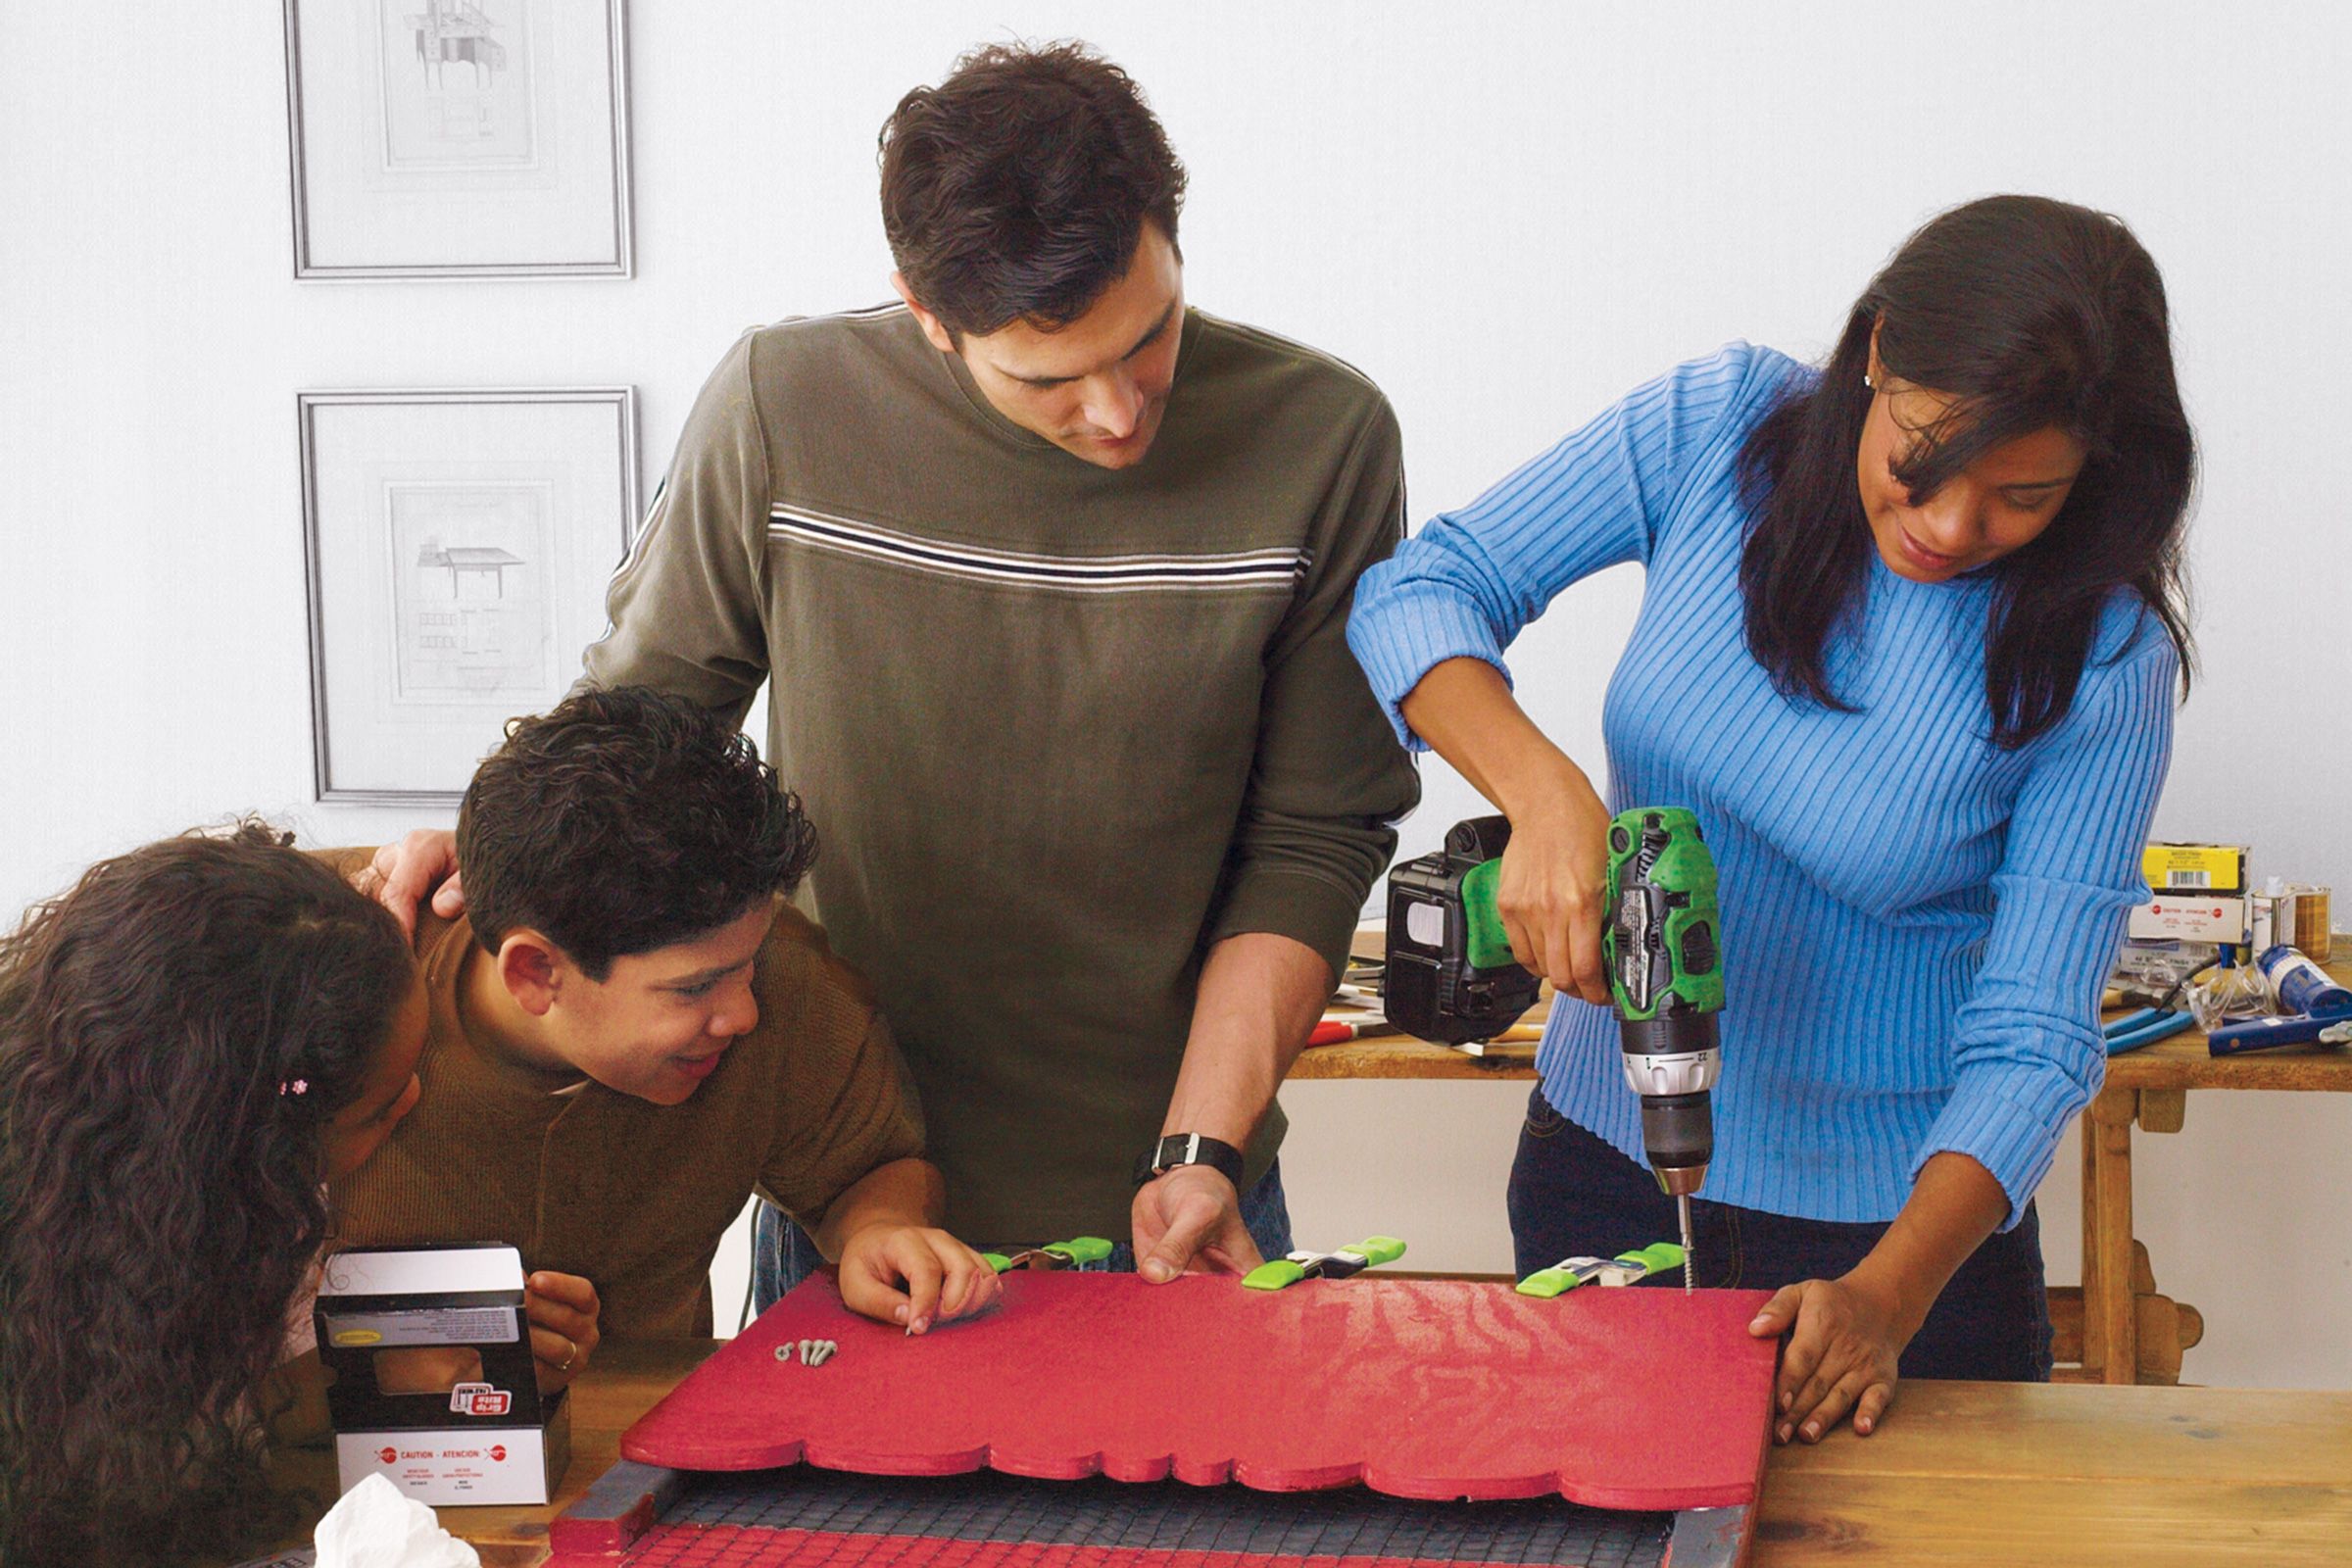
Caulk along the face of the 1-by-2-foots on the back section. Place the front piece onto the 1-by-2-foots, with the bat shape facing the bottom and the top edges and corners lined up. Clamp it in place. Drive 1-inch screws every 6 inches through the face and into the 1-by-2-foots to secure it.
Attach the roof panel at an angle to provide shelter from the rain. Next, caulk the exposed sections of the 1-by-2-foots, then place the cutout below the large front piece. Leave a 1/2-inch gap between the two for the air vent. Clamp the piece, and attach it in place with a single 1-inch screw on each side.
Hang your bat house under the eaves of your home or from a tall, flat pole made from pressure-treated lumber. Make sure to bury one-third of the lumber in the ground to keep it steady. Attach it by driving 3 1/2-inch deck screws through the corners into the siding or fascia of your house or, if you’re using a pole, along the middle at the top and bottom.
The bat house should be at least 15 feet off the ground, away from bright lights. Choose a place facing south to get plenty of sunlight—aim for 6 to 10 hours of exposure. This will keep it nice and hot—just as bats like it!
To parents: Hanging the bat house is a job best left for adults. Just be sure to practice when you put it up.
Adding personal touches to the bat house can make it more appealing and fun:
To maximize the chances of attracting bats to your new house:
With your bat house installed, minimal maintenance is required:
If cleaning is necessary, use a gentle approach to avoid disturbing any potential bat residents. Clear out debris or droppings using a soft brush, and wear disposable gloves for hygiene.
Building a bat house benefits your family and the local ecosystem. It provides a home for these helpful creatures, supporting pest control and biodiversity. This project can educate children about conservation while creating a thriving habitat for nocturnal mammals. Enjoy watching your new neighbors contribute to a balanced environment.